
Smart Shoe
An assistive walking system for visually impaired people, built by Nirvaan.
📘 Project Overview
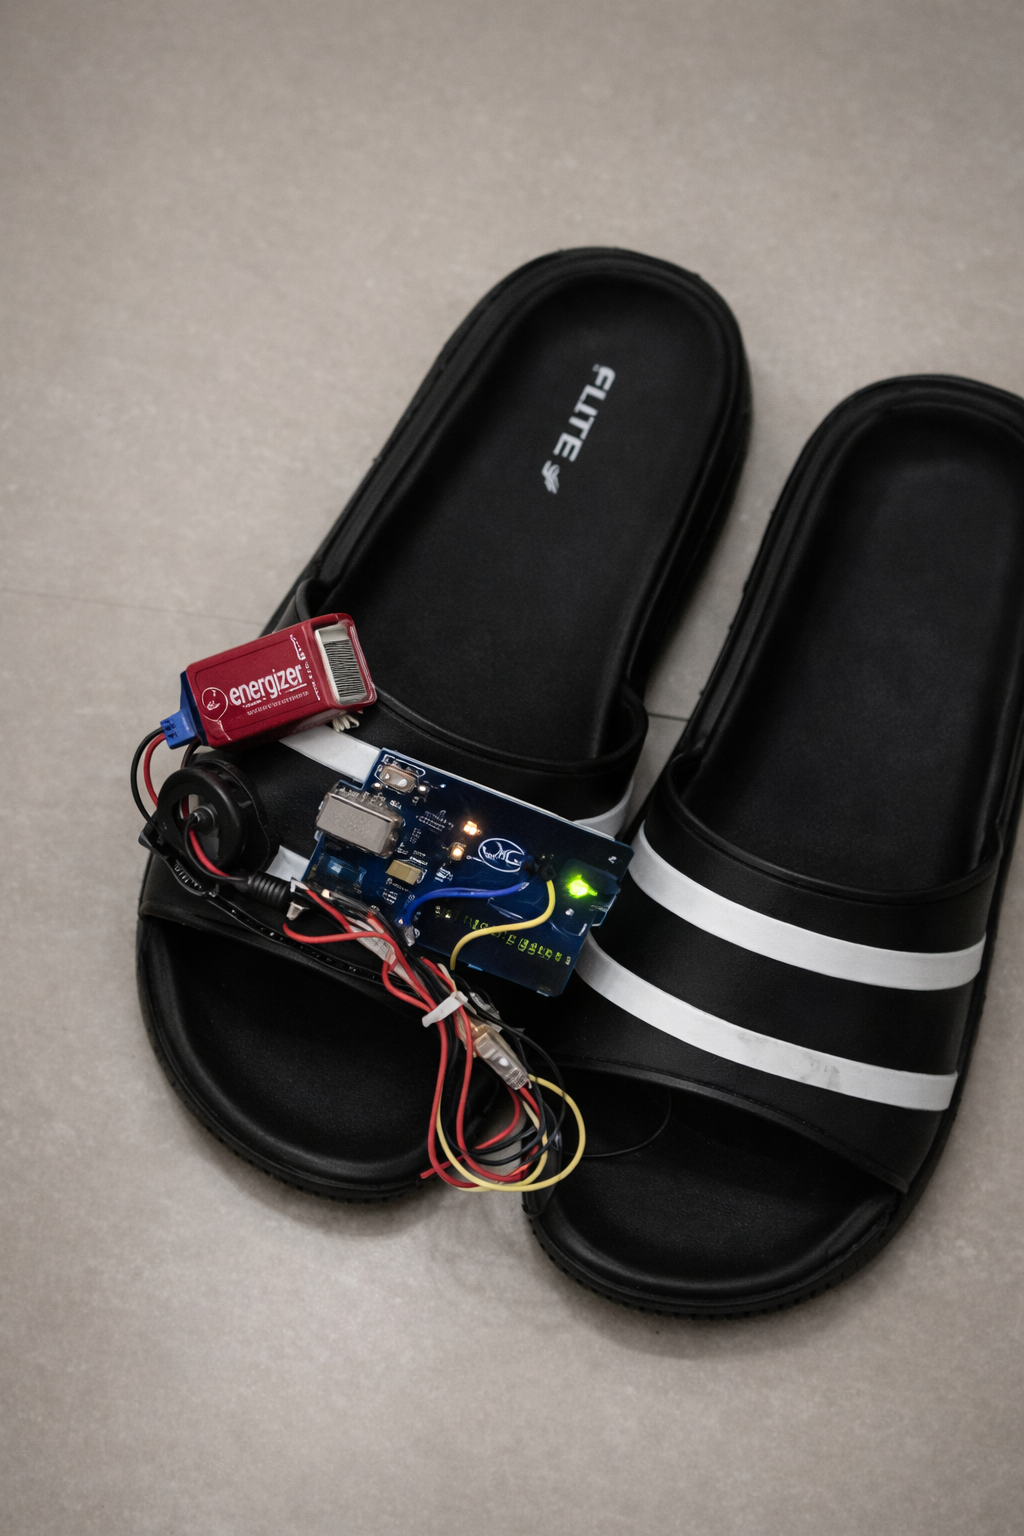
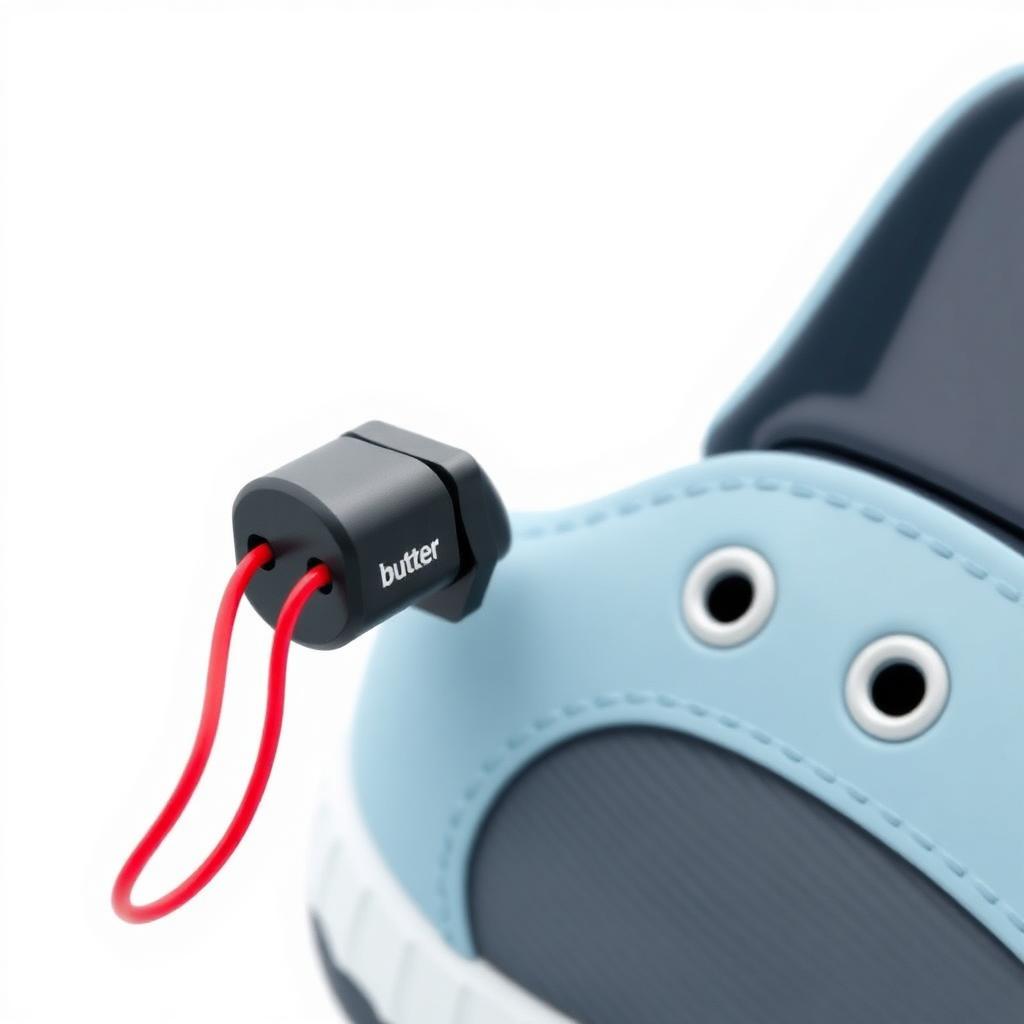
The Smart Shoe is an assistive technology project designed to help visually impaired people detect obstacles while walking. It uses an ultrasonic sensor to sense objects and alerts the user through a buzzer. This project aims to improve safety and independence using simple electronics.
Objectives
- ✓To help blind or visually impaired people detect obstacles
- ✓To provide a simple, low-cost assistive solution
- ✓To alert the user using sound when an object is nearby
Hardware Used
- 🔩 Ultrasonic Sensor
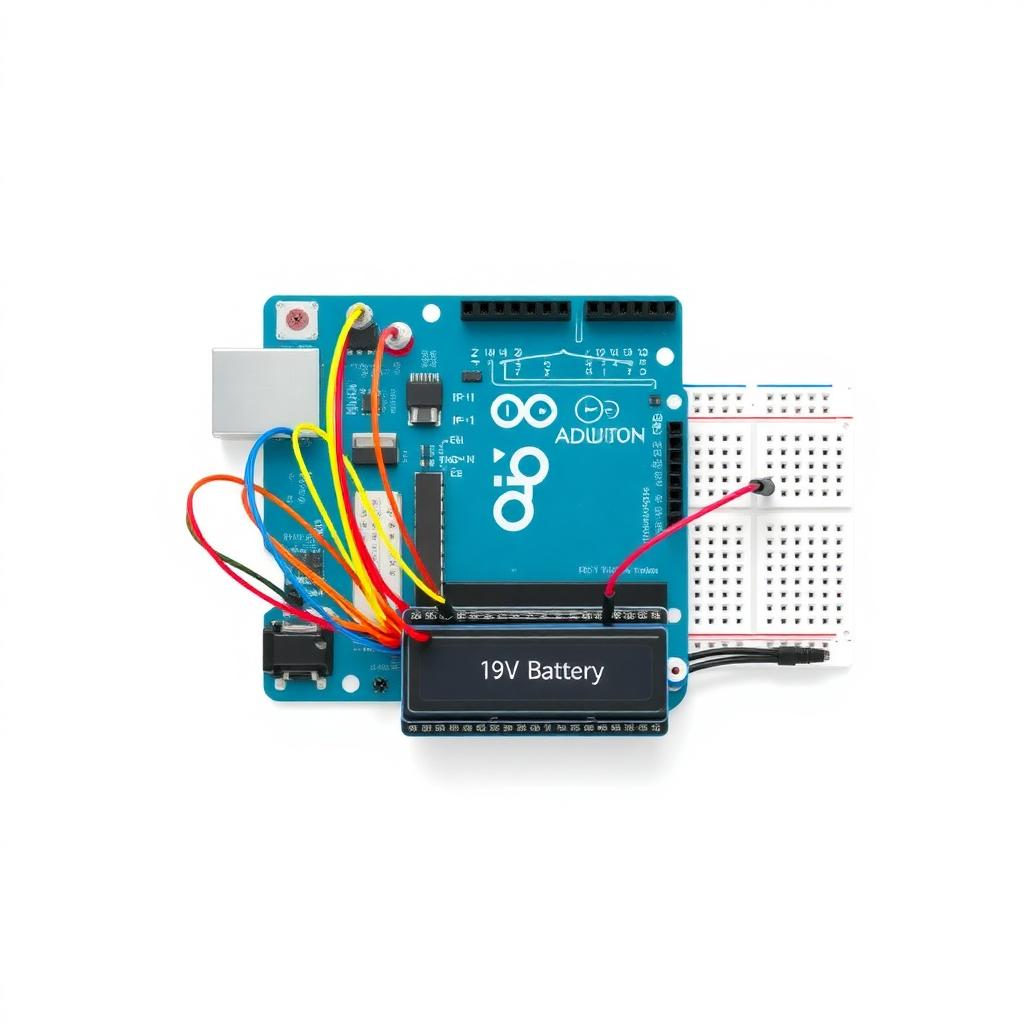
- 🔩 Arduino Uno
- 🔩 Buzzer
- 🔩 Jumper Wires
- 🔩 9V Battery
- 🔩 Battery Connector
- 🔩 Footwear (slippers/shoes)
How It Works
- 1
The ultrasonic sensor continuously checks for obstacles in front of the user.
- 2
When an object is detected within a certain distance, the sensor sends a signal to the Arduino.
- 3
The Arduino activates the buzzer.
- 4
The buzzer produces sound alerts to warn the user.
- 5
This helps the person avoid hitting obstacles while walking.
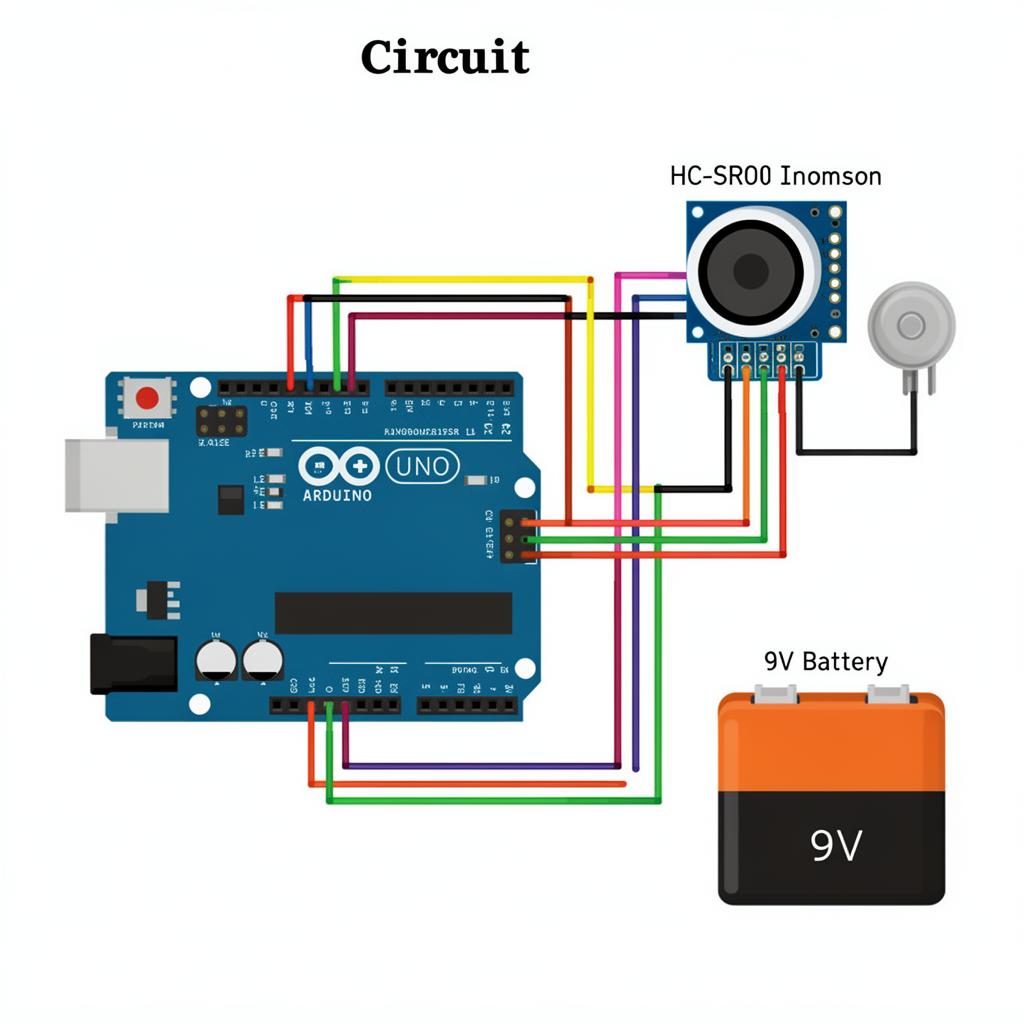
Circuit Diagram
🖼️ Project Gallery
💻 Arduino Code
0.7 0.18 30)">"color:oklch(0.6 0.05 250)">// Smart Shoe - Assistive Obstacle Detection
0.7 0.18 30)">"color:oklch(0.6 0.05 250)">// Built by Nirvaan

const int TRIG = 9;      0.7 0.18 30)">"color:oklch(0.6 0.05 250)">// Ultrasonic trigger pin
const int ECHO = 10;     0.7 0.18 30)">"color:oklch(0.6 0.05 250)">// Ultrasonic echo pin
const int BUZZER = 11;   0.7 0.18 30)">"color:oklch(0.6 0.05 250)">// Buzzer pin

const int SAFE_DISTANCE = 100;   0.7 0.18 30)">"color:oklch(0.6 0.05 250)">// cm - warning starts here
const int CLOSE_DISTANCE = 40;   0.7 0.18 30)">"color:oklch(0.6 0.05 250)">// cm - faster beeps
const int VERY_CLOSE = 20;     0.7 0.18 30)">"color:oklch(0.6 0.05 250)">// cm - continuous buzz

void setup() {
  pinMode(TRIG, OUTPUT);
  pinMode(ECHO, INPUT);
  pinMode(BUZZER, OUTPUT);

  Serial.begin(9600);
}

long getDistance() {
  digitalWrite(TRIG, LOW);
  delayMicroseconds(2);
  digitalWrite(TRIG, HIGH);
  delayMicroseconds(10);
  digitalWrite(TRIG, LOW);

  long duration = pulseIn(ECHO, HIGH);
  long distance = duration * 0.034 / 2;
  return distance;
}

void loop() {
  long dist = getDistance();
  Serial.println(dist);

  if (dist < VERY_CLOSE) {
    0.7 0.18 30)">"color:oklch(0.6 0.05 250)">// Very close - continuous buzz
    digitalWrite(BUZZER, HIGH);
    delay(200);
    digitalWrite(BUZZER, LOW);
    delay(50);
  } else if (dist < CLOSE_DISTANCE) {
    0.7 0.18 30)">"color:oklch(0.6 0.05 250)">// Close - fast beeps
    digitalWrite(BUZZER, HIGH);
    delay(150);
    digitalWrite(BUZZER, LOW);
    delay(150);
  } else if (dist < SAFE_DISTANCE) {
    0.7 0.18 30)">"color:oklch(0.6 0.05 250)">// Nearby - slow beeps
    digitalWrite(BUZZER, HIGH);
    delay(300);
    digitalWrite(BUZZER, LOW);
    delay(500);
  } else {
    0.7 0.18 30)">"color:oklch(0.6 0.05 250)">// Safe - silence
    digitalWrite(BUZZER, LOW);
    delay(500);
  }
}
📦 Get the Project Files
Download the Arduino sketch and try the project at home.
Built by Nirvaan — creating smart solutions to help people through robotics and innovation.