
Smart Clothes Drying Rod
A clever Arduino project that uses a rain sensor and a servo motor to automatically pull the drying rod inside the roof when it rains — and slide it back out when the sun is back. Built by Nirvaan.
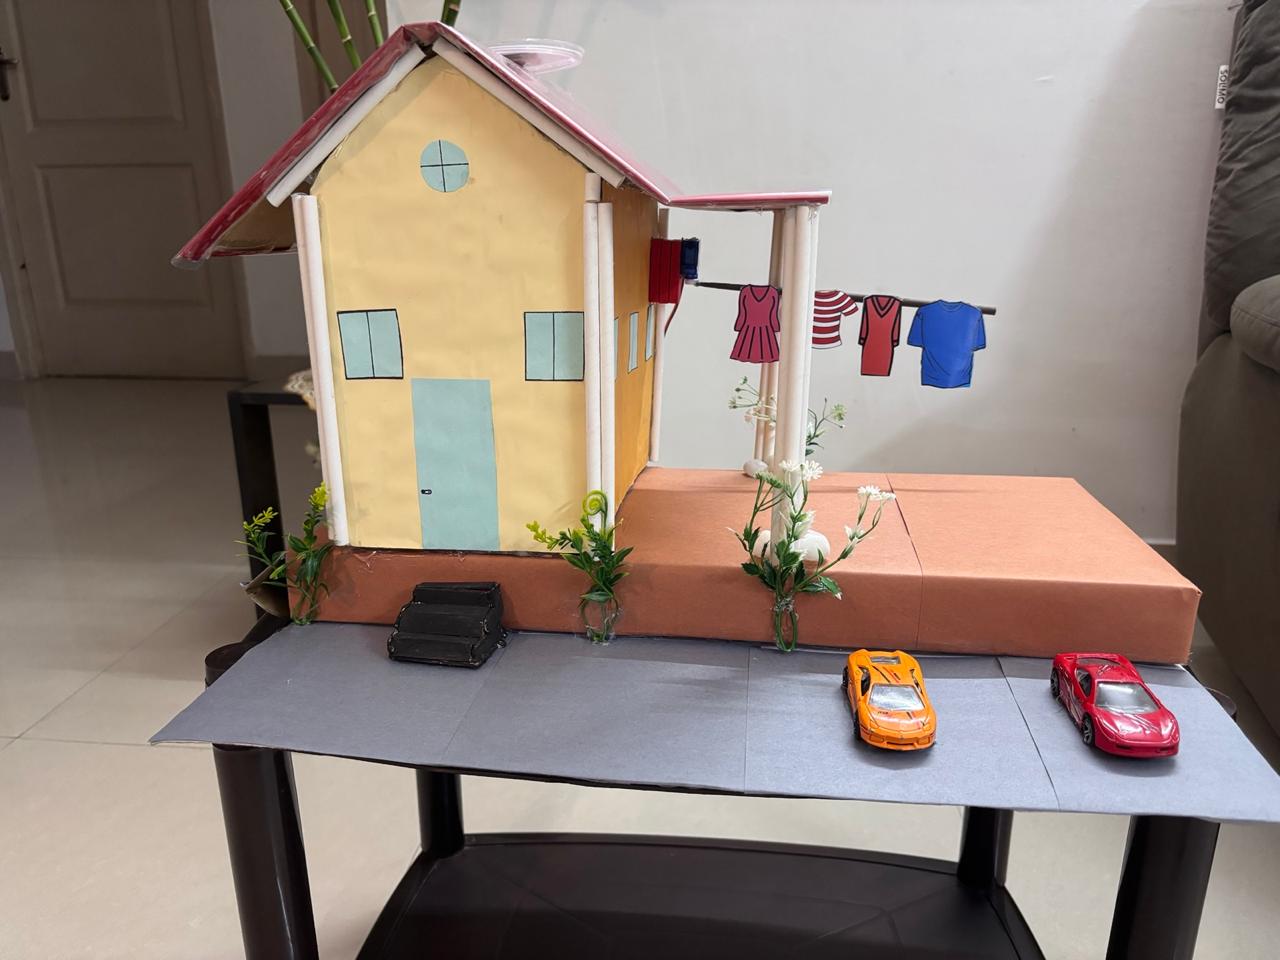
📘 Project Overview
The Smart Clothes Drying Rod is a fun Arduino project that solves a real-world problem — clothes getting soaked on the line when it suddenly starts to rain. A rain sensor sits on the roof and watches the weather. The moment it detects raindrops, the Arduino tells a servo motor to retract the drying rod inside the roof, keeping the clothes safe. When the rain stops, the rod slides right back out so the clothes can keep drying in the sunshine.
Objectives
- ✓Build a smart clothes drying rod that moves automatically
- ✓Retract the rod inside the roof when rain is detected
- ✓Extend the rod back outside when the weather is sunny again
- ✓Learn how sensors and motors work together to react to the weather
Hardware Used
- 🔩 Arduino Uno
- 🔩 Rain Detector Sensor Module
- 🔩 Servo Motor
- 🔩 Buzzer
- 🔩 Jumper Wires
- 🔩 Breadboard
- 🔩 Model Roof + Drying Rod
How It Works
- 1
The rain sensor sits on top of the model roof. When raindrops land on it, the sensor's output goes LOW to tell the Arduino it's raining.
- 2
The Arduino reads this signal and instantly knows it needs to protect the clothes from getting wet.
- 3
It commands the servo motor to rotate, which pulls the drying rod inside the roof — keeping the clothes safe and dry.
- 4
When the rain stops and the sensor dries out, the Arduino rotates the servo back and extends the rod outside again so the clothes can keep drying in the sun.
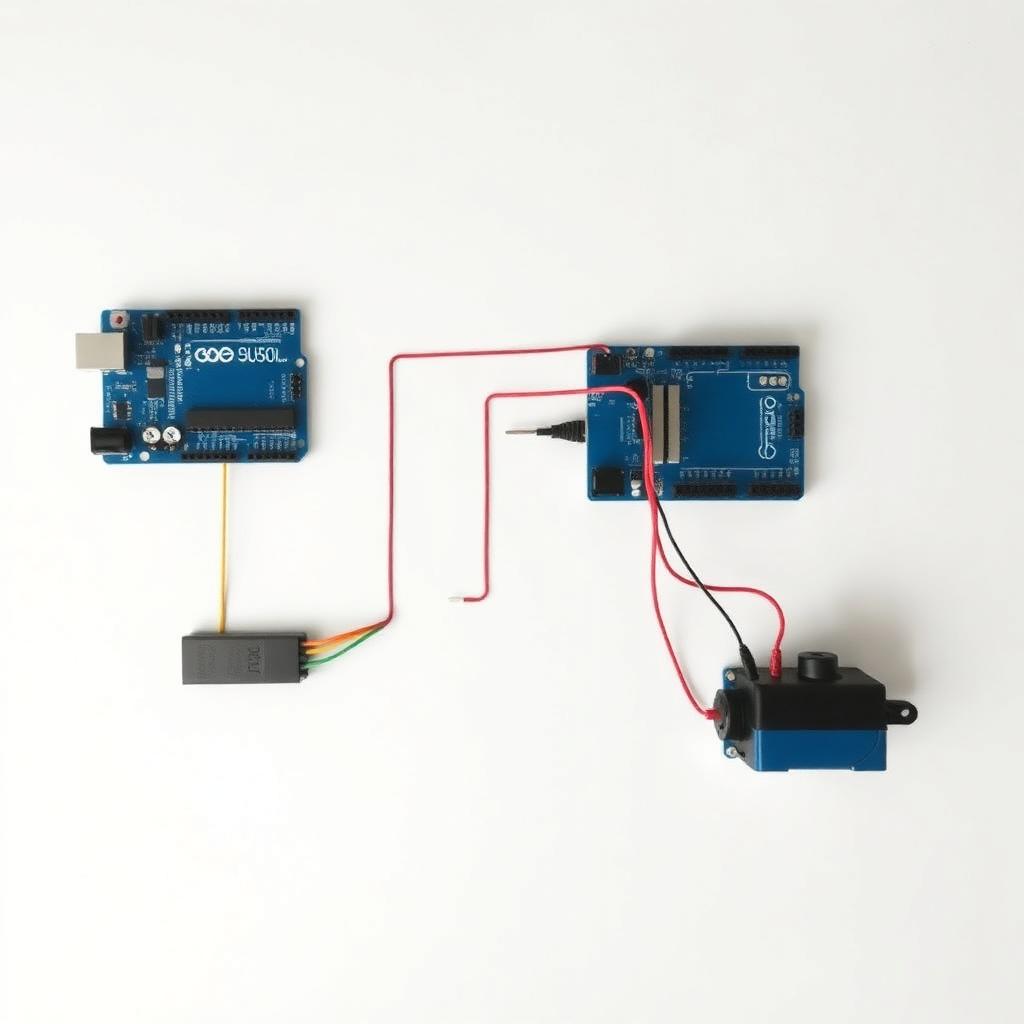
Circuit Diagram
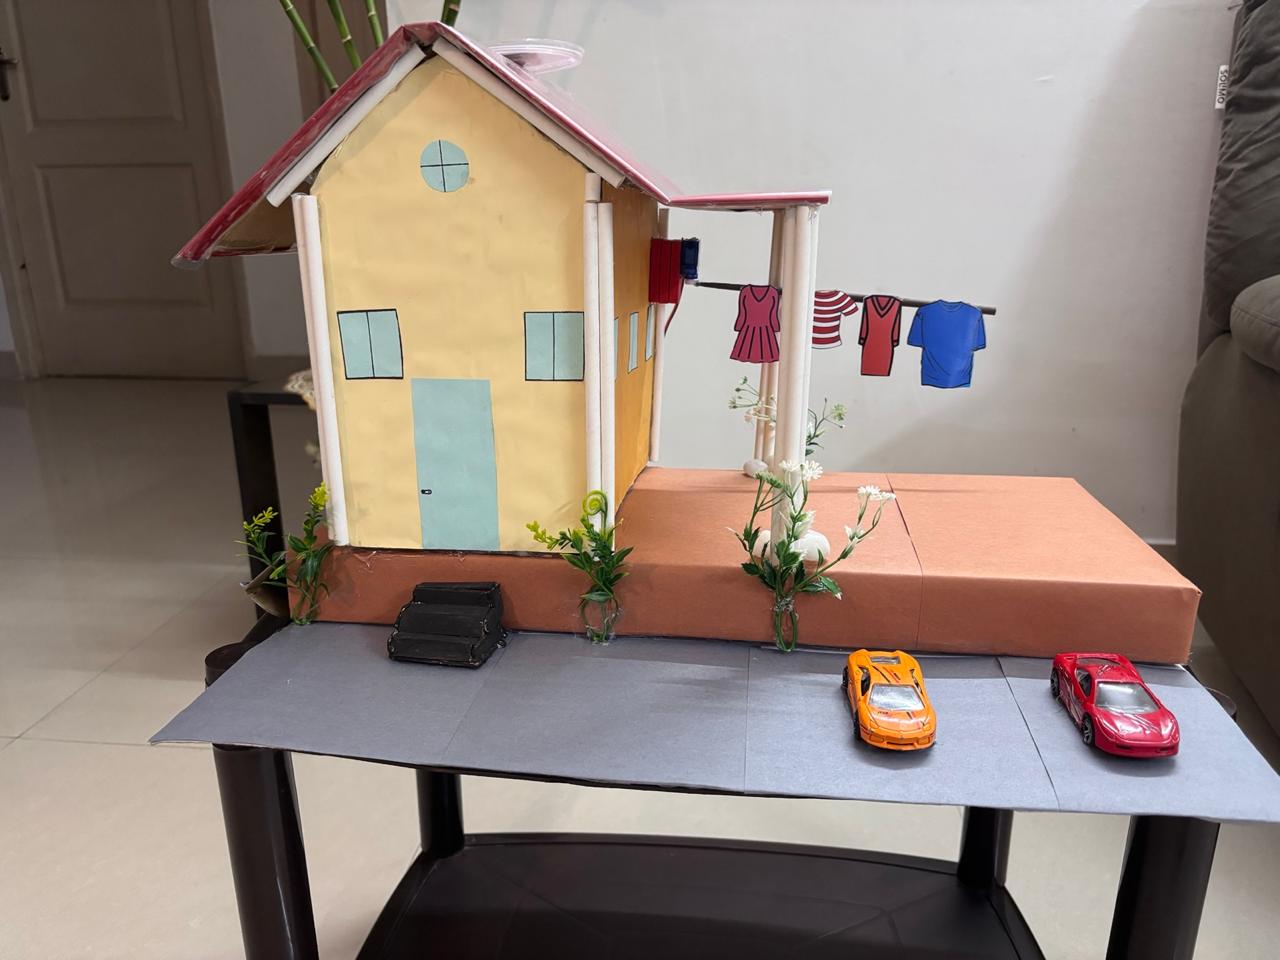
🔧 The Build
💻 Arduino Code
#include <Servo.h>

Servo rodMotor;                0.7 0.18 30)">"color:oklch(0.6 0.05 250)">// controls the drying rod
const int RAIN_SENSOR = 2;     0.7 0.18 30)">"color:oklch(0.6 0.05 250)">// digital out from rain module
const int BUZZER = 8;

void setup() {
  pinMode(RAIN_SENSOR, INPUT);
  pinMode(BUZZER, OUTPUT);
  rodMotor.attach(9);
  rodMotor.write(0);           0.7 0.18 30)">"color:oklch(0.6 0.05 250)">// start with rod extended outside
  Serial.begin(9600);
}

void loop() {
  int rain = digitalRead(RAIN_SENSOR);

  if (rain == LOW) {
    0.7 0.18 30)">"color:oklch(0.6 0.05 250)">// Rain detected — pull the rod inside the roof
    Serial.println(0.7 0.18 30)">"Rain detected — retracting rod inside the roof.");
    rodMotor.write(90);
    digitalWrite(BUZZER, HIGH);
  } else {
    0.7 0.18 30)">"color:oklch(0.6 0.05 250)">// No rain — extend the rod back out so clothes can dry
    Serial.println(0.7 0.18 30)">"Sunny — extending rod back outside.");
    rodMotor.write(0);
    digitalWrite(BUZZER, LOW);
  }

  delay(500);
}
📦 Get the Project Files
Download the Arduino sketch and try the project at home.
Built by Nirvaan — making smart ideas come alive through fun tech projects. 🌦️✨